Sod By The Pallet
The Smart Way to Sod: Quality Turf Available by the Pallet
The Smart Way to Sod: Quality Turf Available by the Pallet
Dreaming of an instantly beautiful lawn without the hassle of seeding? Look no further than sod by the pallet. We offer high-quality turfgrass, expertly grown and conveniently stacked on pallets for easy handling and installation. Whether you’re renovating an existing space or establishing a new landscape, our palletized sod delivers immediate results and lasting beauty.
SOD
By The Pallet
By The Pallet
TURFGRASS
Installation For New SOD
Installation For New SOD
Proper planting techniques are the first step in ensuring success with any new lawn. A little bit of extra care in soil preparation can produce lawns that are healthier, more deeply-rooted, and more drought tolerant for years to come. This guide contains helpful tips on how to properly install sod so that your new lawn remains healthy and ready to enjoy!
Site Assessment
The first step in establishing new sod is to assess the existing site and design a plan for proper planting. Some sites may have existing vegetation, debris, or other items in place that need removal. It is also important to inspect the perimeter of the site to see if there are obstructions in place that may prevent adequate sunlight, water, or even maintenance equipment from reaching the lawn. If potential obstructions or debris exist, it is best to remove them prior to preparing the soil for sodding. This is also a good time to take initial measurements of the lawn so that you can estimate the budget, purchase the correct amount of sod, determine what type of tillage or other equipment can access the site, and design irrigation plans if needed.
Soil Preparation
Proper soil preparation is an essential step in ensuring long-term success of newly established lawns. Soils that are high in clay are easily compacted and can benefit dramatically from soil amendments containing organic matter, potting soil, or other amended topsoils commonly found in lawn and garden centers. Similarly, very sandy soils can also benefit from these products as a result of increased water holding capacity. In either of these cases, incorporating soil amendments is the most important and effective way to ensure your newly laid sod can establish roots after planting. Place bags or loads of soil amendments evenly throughout the lawn and incorporate them into the existing soil as evenly as possible.
Perennial turfgrasses are some of the most hardy species of plants for use in urban sites, as is demonstrated by their success when planted on hard, compacted soils. While tilling may not be necessary, or even possible in all cases, tilling the soil prior to sodding is the most important and effective way to ensure your newly laid sod can establish roots after planting. Furthermore, university research shows that tilling to a depth of 4-6 inches (10-15 cm) will dramatically improve drought tolerance and turfgrass survival during prolonged periods of no rainfall or irrigation.
When tilling, make sure the final grade is sloped away from any homes or buildings and/or towards any drain lines or outlets such that water drains away from the home. Be sure to fill in any low spots and remove any high spots. After tilling is complete, firm up the surface enough that it can be walked on without leaving significant depressions from foot traffic.
SOD Installation
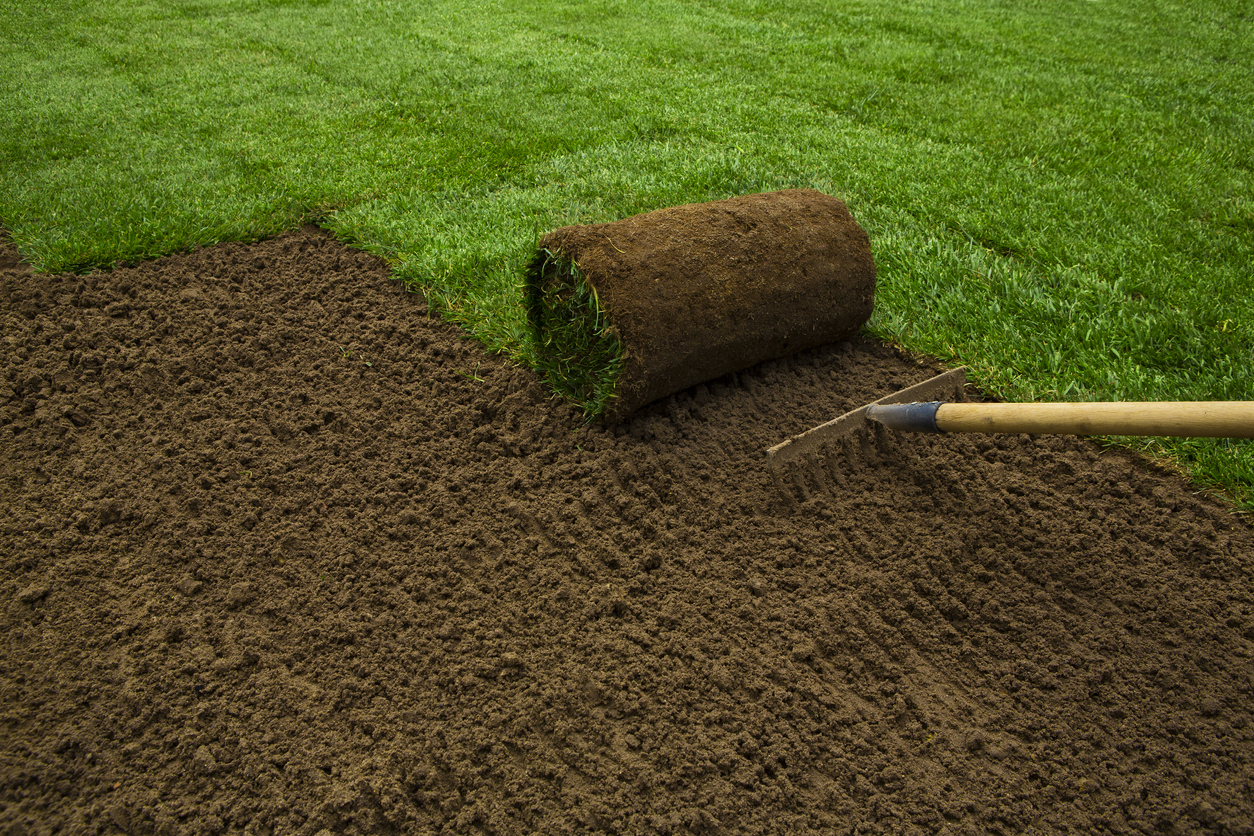
New sod should be established by laying it in rows that are perpendicular in direction to the most severe slope. Be sure to begin laying the sod at the point farthest away from the entrance so that you are not walking over new sod after it is laid. Also, if possible, it is often helpful to select a hardscape with a straight line as a starting point. This makes it easier to continue straight lines as sod is laid throughout the new lawn and prevents excess waste or moving of sod after it is laid.
If possible, make one final pass with a rake as the sod is being laid to ensure good sod-to-soil contact. Lay each row of sod in a staggered, brick-like fashion and ensure that each slab or roll of sod is laid firmly in place to the adjacent pieces and that the edges do not overlap. Edges that overlap will dry out easily and will likely be scalped during the first mowing. If possible, rolling the newly laid sod with a drum-type, water-filled roller immediately after planting is a great way to make sure the sod is firmly in place with good sod-to-soil contact.
Post-Installation Care
It is essential to begin watering new turfgrass sod immediately upon establishment. This can be done by hand-watering with a water hose and nozzle, hose-end sprinkler, in-ground irrigation system, or any combination thereof. When watering new sod, make sure that the sod and the soil layer immediately beneath the sod is moist to a depth of ½ to 1 inch (0.125 to 2.5 cm). Lifting the corners of random pieces of sod and checking for moisture is a good way to ensure that the sod is wet. Corners, edges, and areas exposed to full sun are particularly prone to drying out. Turfgrass leaves that are wilted and/or bluish-gray in color often appear in these areas first and are a sign of drought stress.
As the sod begins to root, irrigation or hand-watering can be scheduled less frequently. Newly laid sod should be mowed once the underlying surface is firm enough to support it, but should not be prolonged to the point where significant scalping can occur.

